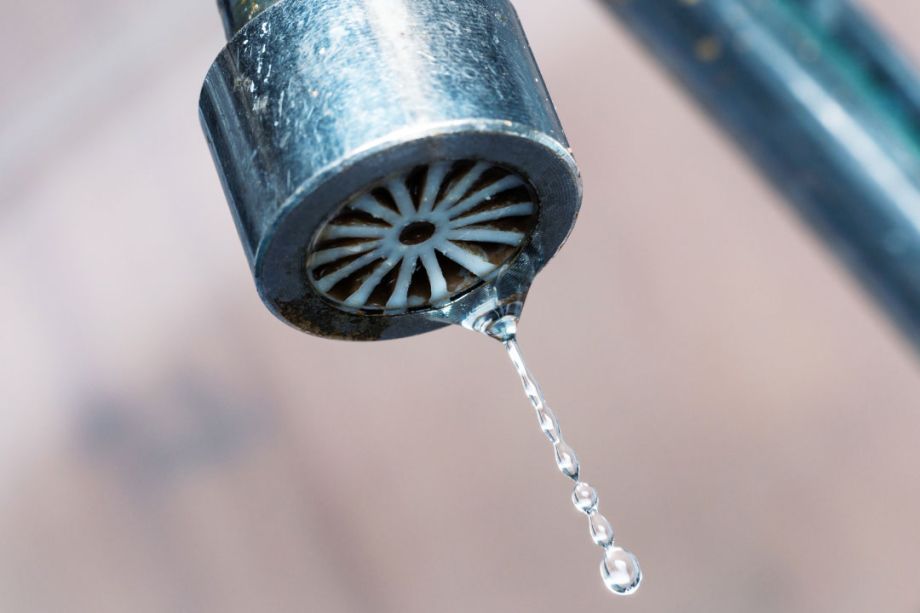
How to Fix a Leaking Tap
Fixing a leaking tap is a common household repair that you can usually handle yourself without needing to call a plumber. Leaky taps can waste water and increase your utility bills, so it’s beneficial to address this issue promptly. Here’s a step-by-step guide on how to fix a standard leaking tap:
Tools and Materials Needed:
- Adjustable wrench
- Flat-head and/or Phillips screwdriver
- Replacement washers and O-rings (make sure they match the size needed for your tap)
- Penetrating oil (like WD-40) for loosening parts, if necessary
- Cloth or rag to protect the tap’s finish
Step 1: Identify the Type of Tap
The repair process may vary depending on the type of tap (compression, ball, cartridge, or ceramic disk). The most common household tap is the compression tap, which typically leaks due to a worn washer.
Step 2: Turn Off the Water Supply
Before starting the repair, make sure to turn off the water supply to the tap. You’ll usually find the shut-off valves under the sink or basin. Turn the valve clockwise to close it. Open the tap to release any remaining water left in the pipes.
Step 3: Plug the Drain
Use a sink plug or a rag to block the drain. This will prevent any small parts like screws or washers from falling down the drain during the repair.
Step 4: Remove the Tap Handle
Remove the decorative cap on the tap handle (if present), then unscrew the handle screw, which is typically located under the cap. You might need to use penetrating oil to loosen it if it’s stiff. Carefully lift the handle off the stem.
Step 5: Remove the Packing Nut
With the handle off, use an adjustable wrench to remove the packing nut, exposing the rest of the stem. Some stems pop right off, while others need to be twisted off from the valve.
Step 6: Replace the Washer (and O-ring if necessary)
Once the stem is removed, check the washer seated at the bottom of the stem. If it’s worn out, this is likely the cause of the leak. Replace the washer with a new one that matches the size and shape. If your tap uses an O-ring, replace it if it looks worn or damaged.
Step 7: Reassemble the Tap
Once the new washer (and O-ring) is in place, reassemble the tap by following the disassembly steps in reverse order. Make sure everything is tight and secure but don’t over-tighten as this can cause damage.
Step 8: Turn On the Water Supply
Turn the water supply back on by turning the shut-off valves counterclockwise. Check the tap by turning it on and off to ensure the leak has been fixed.
Step 9: Check for Leaks
After reassembling the tap and turning the water back on, watch for any leaks. If it still leaks, it might be due to an improperly seated washer or because another part of the tap is worn out. Double-check your work and replace additional parts if necessary.
Additional Tips:
- Take the old washer to the hardware store to ensure you purchase the correct replacement.
- Keep your workspace organised and take photos at each step if you are unsure about reassembly.
- Regular maintenance can prevent future leaks. Check and replace washers and O-rings periodically.
Fixing a leaking tap is a straightforward DIY task that can save water and reduce unnecessary water charges. With the right tools and a bit of patience, you can easily maintain your taps in good working condition.
If you’re having trouble following the tips, call a plumber near you that service leaking taps. It’s best to contact one today to avoid more damages in the future.
 May 3, 2024


 Overall Rating
 Adelaide
 Email
Email
 Phone
Phone


